Basic Nail Care at Home Without Salon: A Step-by-Step Guide for Clean, Strong, and Neat Nails
Good beauty craft starts with small, repeatable habits, and nail care is a perfect example. With the right sequence, clean tools, and gentle pressure, you can keep nails tidy, strong, and comfortable between professional appointments—or instead of them.
Why a Home Nail Routine Works
Consistency matters more than complexity. When you follow the same order each week, you reduce the chance of over-filing, ragged cuticles, or uneven shaping. A calm, predictable routine also helps you notice changes early, like dryness, peeling, or hangnails, so you can adjust before small issues become painful.
What You Will Need
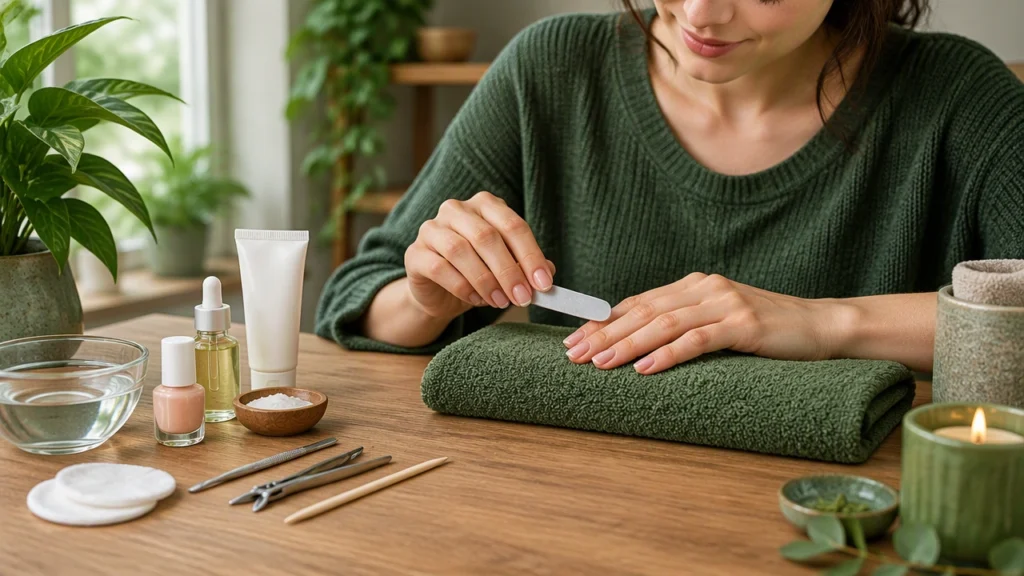
- Nail file and buffer
- Cuticle pusher or orangewood stick
- Non-sharp cuticle nippers (optional)
- Nail clippers or tip trimmer
- Hand wash or gentle cleanser
- Cuticle oil and hand cream
- Base coat and top coat
- Optional: nail strengthener or polish
Step 1: Wash and Dry Hands
Start with clean hands so you can see the true shape of the nail and avoid pushing dirt into the cuticle area. Use warm water and a mild soap, then rinse well. Dry thoroughly, especially around the sidewalls, because lingering moisture can soften the nail too much and lead to bending or tearing.
Step 2: Remove Old Polish Completely
If you have leftover color, remove it with a gentle, acetone-free remover or a small amount of pure acetone if the formula is stubborn. Wipe in one direction rather than scrubbing back and forth, which can rough the nail surface. Let the nail air-dry for a minute before the next step.
Step 3: Shape the Nails
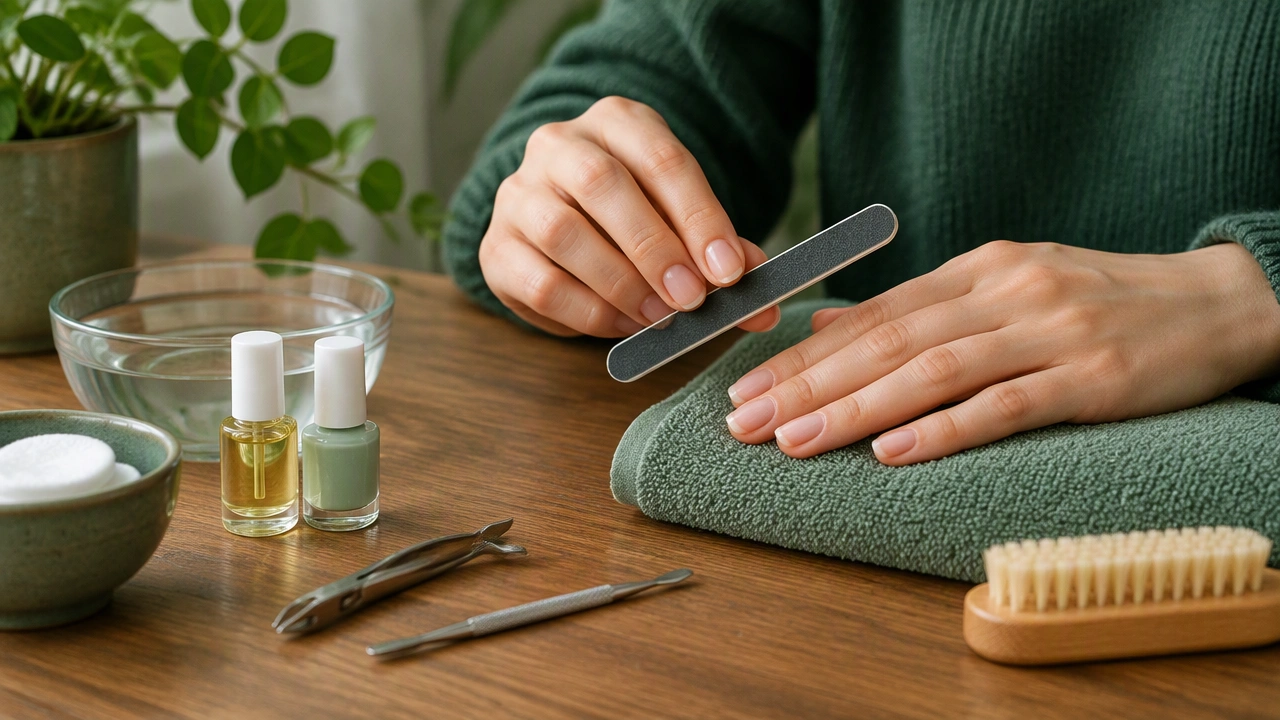
Choose a shape that fits your daily life. Squoval or soft square is often easiest to maintain. File in one direction from the outer corner toward the center, then repeat from the other side. Avoid sawing back and forth, which can create micro-splits. Keep the length practical: shorter nails are less likely to snag and often look cleaner with less effort.
How to Choose the Right Shape
- Squoval: durable and low-maintenance for everyday tasks
- Round: gentle on edges and simple to keep neat
- Oval: slightly elongating, good for wider nail beds
- Soft almond: elegant but may need more frequent upkeep
Step 4: Smooth the Surface
Use a fine-grit buffer to gently even out ridges. Work in light, short strokes and do not stay in one spot too long. The goal is a smooth canvas, not a paper-thin nail. If you plan to wear dark polish, smoothing helps prevent streaks. If you prefer a natural look, a soft buff gives a subtle, healthy-looking sheen.
Step 5: Care for the Cuticles
Push back the cuticle after washing, when the skin is softer. Use a rubber-tipped pusher or an orangewood stick at a low angle. Move slowly and only push what is already lifted. If you see dead skin hanging, you can carefully trim it with well-sanitized nippers, but stop if you feel any sting or see live tissue. When in doubt, leave it. Healthy cuticles protect the nail root.
Cuticle Care Do’s and Don’ts
- Do: soften with oil or warm water first
- Do: use gentle pressure and short movements
- Don’t: cut deep or tear at the skin
- Don’t: skip hydration after pushing
Step 6: Moisturize and Seal
Massage a few drops of cuticle oil into each nail and the surrounding skin. Follow with a hand cream to lock in softness. This step helps prevent hangnails and keeps the nail plate from becoming brittle. For extra dry hands, add a thicker balm at night and wear cotton gloves while you sleep.
Step 7: Protect and Finish
Apply a thin base coat to help polish adhere and to add a light shield against staining. If you want a natural finish, one layer of clear or sheer pink can look polished without looking heavy. Finish with a top coat for shine and chip resistance. If you skip color, a nail strengthener can still give a tidy, finished look.
Step 8: Maintain Between Sessions
Touch up chips promptly so moisture does not get under the polish. Reapply cuticle oil daily, and keep a small file nearby to smooth snags before they become tears. Every 7–10 days, repeat the full routine so maintenance stays light and quick.
Weekly vs. Daily Care
A full shaping and cuticle session works well once a week. Daily care can be as simple as cuticle oil in the morning, hand cream after washing, and a quick check for rough edges at night. This balance keeps nails strong without overworking them.
Common Mistakes to Avoid
- Over-filing: causes thin, flexible nails that peel
- Cutting cuticles too short: increases the risk of infection
- Skipping base coat: can lead to staining and chipping
- Using dull tools: tears instead of trimming cleanly
- Rushing: leads to uneven shape and ragged edges
Simple Habits That Support Stronger Nails
Wear gloves for dishwashing and cleaning. Keep nails at a manageable length. Avoid using nails as tools. Eat a balanced diet and stay hydrated, because nail health reflects overall body care. If you notice persistent ridges, discoloration, or pain, consider checking in with a professional or a dermatologist.
With a calm sequence, clean tools, and regular moisture, basic nail care at home without salon becomes a small weekly ritual that keeps nails neat, strong, and comfortable—no appointment required.