Home / Hygiene, Tools & Safety
How to Clean Makeup Brushes Properly: A Beauty Craft Guide to Preventing Breakouts and Infection

Keeping makeup tools clean is part of everyday care, but it is also a quiet form of beauty craft. When you learn how to clean makeup brushes properly, you protect your skin barrier, reduce the risk of breakouts, and help your tools last longer. Clean brushes also give a smoother, more even finish because old product and oil are not sitting in the bristles.
Dirty brushes collect foundation residue, concealer, powder, oils, dead skin cells, and bacteria. When these are pressed back onto the face day after day, pores can become blocked. This may lead to blackheads, whiteheads, irritation, or even infection, especially around the eyes and on acne-prone skin. The good news is that a simple, consistent routine can keep tools fresh without damaging them.
Why Dirty Brushes Cause Breakouts and Infection
Makeup brushes are used close to the skin, and many are dense enough to trap moisture and product. That environment can encourage bacterial growth. When a contaminated brush touches a small cut, an inflamed blemish, or the delicate eye area, the risk of infection rises. Even without visible dirt, buildup of sebum and skincare ingredients can clog the brush head and transfer residue back to clean skin.
Symptoms linked to dirty tools can include:
- Repeated breakouts in areas where makeup is applied
- Redness or itching after makeup application
- Styes or conjunctivitis when eye brushes are not cleaned
- Uneven makeup, patchiness, or streaking
- Unpleasant odor from the bristles or ferrule
How Often You Should Clean Your Brushes
There is no single rule that fits every routine, but these guidelines help:
- Foundation and concealer brushes: after every use or at least once a week, because they sit in wet product and oils.
- Powder brushes: every one to two weeks, unless you use them with liquid products.
- Eye and lip brushes: once a week, and immediately after use on an infected area.
- Sponges: after every use; wash and allow to dry completely between uses.
If you have acne-prone or sensitive skin, aim for the more frequent end of these ranges. If you are ill, recovering from a skin infection, or using a shared kit, clean tools before and after each use.
What You Need
You do not need many products to clean tools well. Gather:
- Gentle cleanser: a mild, fragrance-free facial cleanser, a baby shampoo, or a dedicated brush cleanser. Avoid harsh dish soaps, which can dry out natural fibers.
- Lukewarm water: warm enough to loosen product, but not hot.
- A cleaning mat or textured glove (optional): helps work product out of dense bristles.
- Clean towels or paper towels: for blotting and shaping.
- A drying rack or flat surface: with good airflow.
Step-by-Step: How to Clean Makeup Brushes Properly
Follow these steps for both natural and synthetic brushes. Be gentle; rough handling can loosen glue and damage the shape.
1. Rinse the Bristles
Hold the brush with the bristles pointing down under lukewarm running water. Avoid soaking the ferrule, the metal part that holds the bristles. Water in the ferrule can weaken the glue and cause shedding.
2. Add Cleanser
Place a small amount of cleanser in your palm or on a cleaning mat. For a standard face brush, a pea-sized amount is often enough. For larger powder brushes, use slightly more.
3. Work the Lather
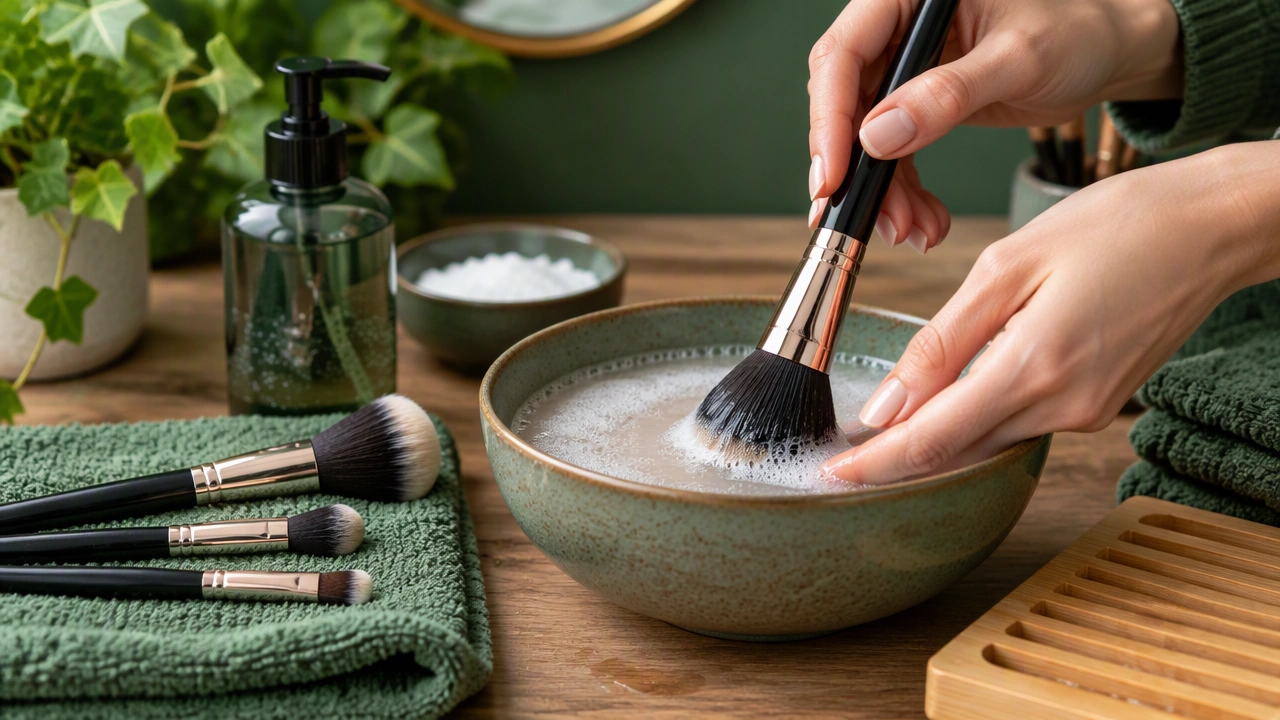
Swirl the bristles gently in circular motions. You will see product release into the foam. For dense foundation brushes, press and roll the bristles against your palm or mat to push out trapped makeup. Do not pull or pinch the bristles.
4. Rinse Again
Rinse under running water until the water runs clear. Repeat the lather-and-rinse step if the brush still releases color. Clean until the bristles feel soft and free of residue.
5. Remove Excess Water
Gently squeeze the bristles from the base to the tip. Use a clean towel to blot and shape the brush head. Do not twist or wring the bristles.
6. Reshape and Dry
Lay the brush flat on a towel with the bristles hanging over the edge of a counter, or place it bristle-side down in a cup. Air-dry away from direct heat and sunlight. Make sure the brush is fully dry before the next use; a damp brush can grow mold and bacteria.
Cleaning Tools with Different Materials
Synthetic brushes: These are generally more resilient to frequent washing and work well with liquid and cream products. They tolerate gentle cleansers and quick drying.
Natural hair brushes: These are softer and can be more delicate. Use a mild cleanser and avoid prolonged soaking. Conditioning is not usually necessary for makeup brushes, but you can use a tiny amount of a gentle conditioner on very dry natural bristles, then rinse thoroughly.
Beauty sponges: Wet the sponge, apply cleanser, and squeeze repeatedly until the product releases. Rinse and squeeze until the water runs clear. Always let sponges dry fully between uses in a breathable holder.
Deep Cleaning and Disinfection
A weekly wash handles most buildup, but a deeper clean can help during heavy-use periods. After washing, you can briefly dip the bristles in a solution of one part gentle cleanser to one part water, then rinse well. If you want extra reassurance, you can use an alcohol-based brush spray that is designed for tools, following the label instructions. Rinse or let it evaporate fully before use.
Do not boil brushes, soak them for long periods, or place them in the dishwasher. These methods can break down glue, warp handles, and ruin bristle texture.
Storage and Daily Habits That Prevent Infection
- Store brushes upright in a clean holder, with bristles facing up, or lay them flat in a dust-free space.
- Avoid sharing brushes unless you sanitize them between users.
- Keep lids and caps on brush sets when traveling.
- Replace worn tools when bristles are permanently splayed, shed often, or smell even after washing.
- Clean your workspace: wipe down palettes, compact mirrors, and the area where you set your brushes.
A Simple Weekly Routine
If you prefer a steady habit, try this:
- End-of-week wash: clean all foundation, concealer, and eye brushes.
- Mid-week touch-up: spot-clean your most-used face brush with a quick spray cleanser.
- Monthly check: inspect handles and ferrules, and retire any damaged tools.
Final Thoughts
Learning how to clean makeup brushes properly is a small but powerful act of care. With a gentle cleanser, lukewarm water, and a calm routine, you can reduce breakouts, lower the risk of infection, and keep your tools performing at their best. Consistency matters more than perfection. Even a short weekly wash can make a visible difference in skin comfort and makeup finish.